Are you ready to unlock the full potential of your We2usat K3 Pro+ TV Box? This comprehensive setup guide will help you get started quickly, ensuring a smooth and enjoyable viewing experience. Whether you’re a tech enthusiast or a first-time user, follow these steps to set up your Android TV box properly, connect to Wi-Fi, pair your remote, and optimize your system settings for optimal performance.
1. Unbox and Check Accessories
Before starting, make sure your We2usat K3 Pro+ TV Box package includes all essential accessories:
- We2usat K3 Pro+ main unit
- Power adapter
- HDMI cable
- Bluetooth voice remote
- User manual
If any items are missing, contact your retailer or customer support immediately. Having all components ensures proper setup and avoids delays.
2. Connect Your TV
- Take the included HDMI cable.
- Connect one end to the HD OUT port on the back of the We2usat K3 Pro+.
- Connect the other end to your TV’s HDMI IN port.
Tip: If the display resolution appears unclear, ensure both the HDMI cable and power adapter are original accessories for optimal performance.
For more details, check our guide on We2usat K3 Pro+ device ports and connections.
3. Connect the Power Supply
- Plug the DC end of the power adapter into the 5V 2A port on the back of your TV box.
- Insert the AC plug into a household power outlet. Using a switchable power strip is recommended for easy restarting.
- After connecting, the power indicator light should turn on (red in standby mode).
Next, turn on your TV and select the corresponding HDMI input using your TV remote.
4. Initial Software Configuration
Once hardware is connected, follow the on-screen setup wizard to configure your system for the first use.
5. Power On the Device
- Press the Power button on the We2usat Bluetooth remote.
- The power light should change from red to blue, indicating the device is starting.
- The TV screen will display the We2usat logo and a startup animation.
Warning: Do not disconnect the power during startup to prevent system damage.

6. Pair the Remote Control
After startup:
- The screen will prompt you to pair the remote.
- Press and hold both the OK button and the Volume Down (-) button on the remote.
- Repeat until pairing is successful.
7. Select the system language
Use the Up/Down arrows on your remote to choose your preferred language for the system interface.

8. Adjust Screen Size
Use the left and right arrow buttons to adjust the display border until it perfectly aligns with the edges of the TV screen.
9. Connect to Wi-Fi
Use the up and down arrow keys to select your home Wi-Fi network.
Press OK, then enter your Wi-Fi password.
Make sure the network connection is stable for smooth video streaming.
Keyword tip: The We2usat K3 Pro+ supports dual-band 2.4G/5G Wi-Fi, delivering faster and more stable streaming performance.

10. Select your time zone
Please use the up and down arrows in the list to select your country or region. This will ensure accurate time settings and proper app functionality.

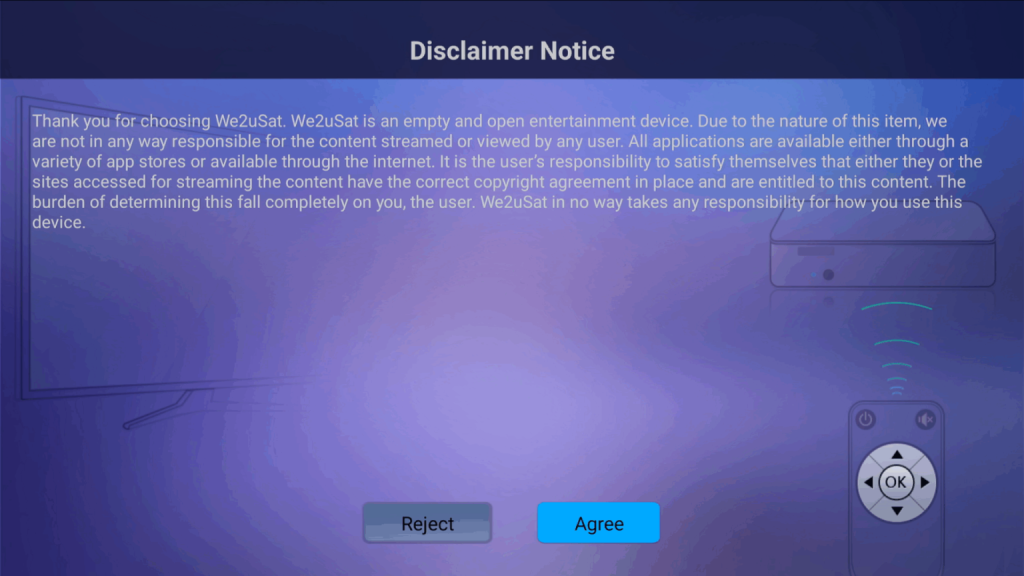
11. Read and accept the User Agreement
Please carefully read We2usat’s Terms of Use and Privacy Policy.
Only after accepting these terms and policies can the system be set up correctly.
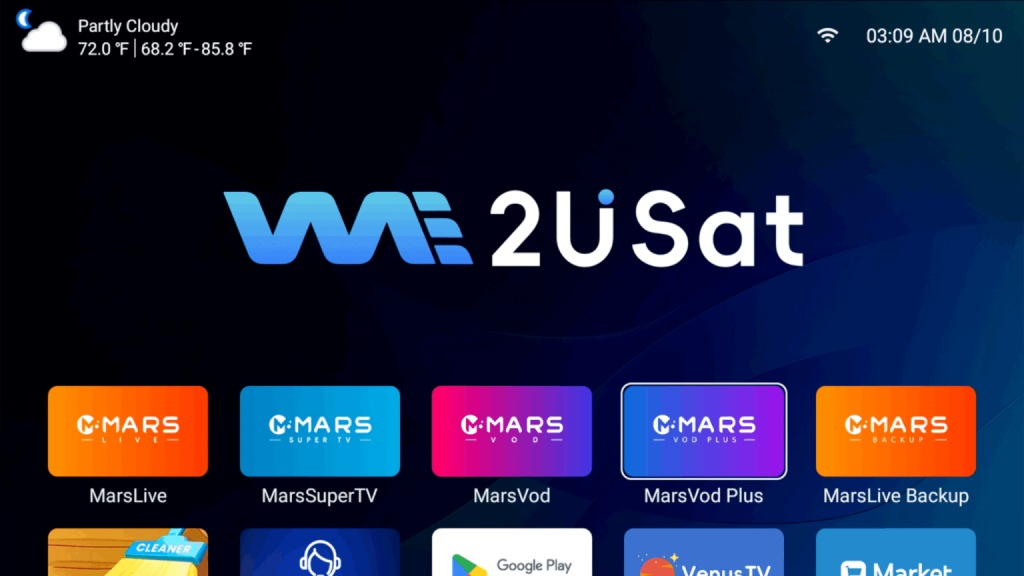
12. Please set it to complete automatically.
After connecting to Wi-Fi, the system will automatically complete the remaining setup. Please wait patiently and do not use the device during this process.
Final tips for achieving optimal performance
Always use the original HDMI cable and power adapter included with your K3 Pro+.
Keep your system firmware updated for the latest features and security.
Pair your Bluetooth remote correctly for smooth navigation.
Enjoy streaming 4K content, Android TV apps, and online entertainment without interruptions.